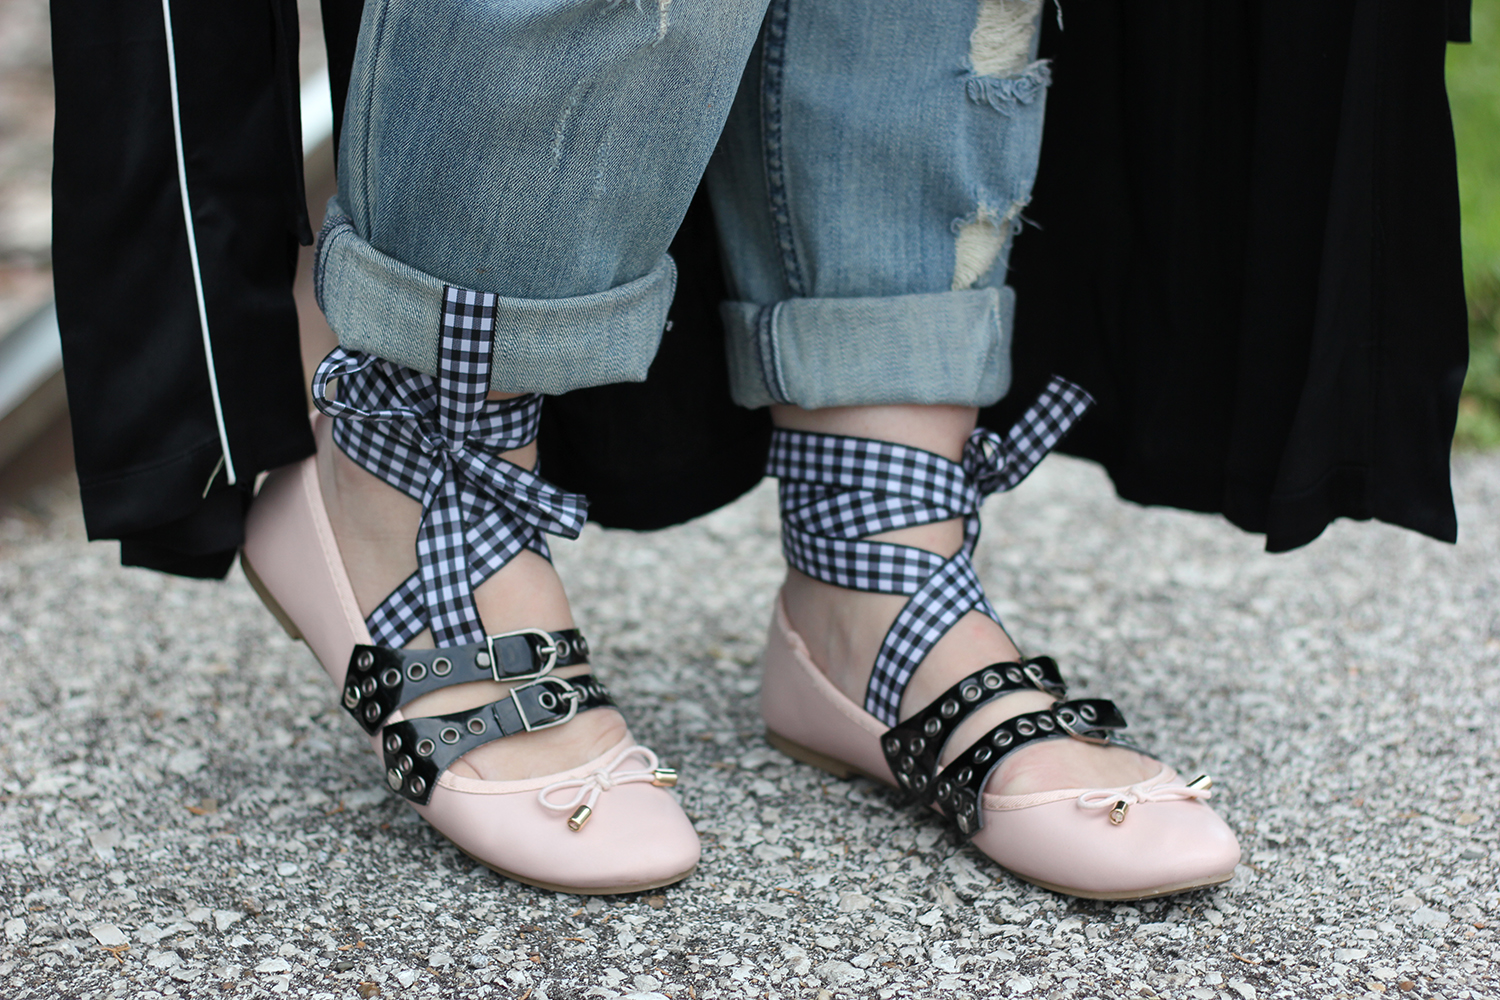
Let’s talk about Miu Miu. More specifically, let’s talk about those Miu Miu ballet flats with moto-inspired straps of black leather and interchangeable ribbons that tie around the ankle. I can’t recall when I first laid eyes on these shoes; perhaps it was during a late-night e-stalking session of fashion week street style last spring. In any case, as it sometimes goes with outstanding pieces of design, once I saw these tough girl-meets-prima ballerina flats, I started thinking about how I could approximate them within my budget.
And thus my favorite DIY Discount project to date was born. I’m exceedingly happy with how these turned out, and I’m even happier with the fact that the whole thing cost about $35. Will these be inscribed with the name of the famed Italian fashion house inside? No. Will you love them very much anyway and get loads of compliments whenever you wear them? Most definitely. Keep scrolling for detailed instructions!
For this project, you’ll need the following:
• simple ballet flats
• black buckle straps
• grommets, grommet setter and anvil
• mallet
• leather punch
• gingham ribbon
• needle and thread
Steps:
1. Using the leather punch, punch holes on the ends of each leather strap. Make sure you have your hole punch set to the width that corresponds to your grommet size. A test piece of scrap leather is very helpful for calibration.
2. Figure out where you want the placement of your straps to be. They should be placed a little further forward on the foot than a typical Mary Jane strap, since you need to allow room for the ribbon. Take care to try on the shoe with the straps held in place to make sure you allow room for your foot. Once you’re happy with your alignment, hold the straps in place and use a pen to mark through the punched holes onto your shoe.
3. Using the leather punch, punch holes in the spots that you marked on the shoe.
4. Line up the straps with the holes in the shoe and click your grommets into place. You should have one grommet per side per strap, so four per shoe.
5. Using your setter, anvil and mallet, set each grommet. Here’s a quick reference video if you’ve never done this before—don’t worry, it’s super easy!
6. Cut four lengths of ribbon about 36″ long each (you should have enough ribbon to cross over the foot, wrap around the ankle a few times and tie with a bow).
7. Fold one end of the ribbon over about 1/4″ inch and repeat, so you have a triple layer of ribbon at that end. Place it just behind the black straps and sew into place on the inside of the shoe. Make sure to disguise the stitches along the topline trim as best you can. Repeat with the other three ribbons.
8. Style with shredded jeans and a silky robe. Or with your favorite little black dress. Or with pretty much anything you own.


Leave a Reply