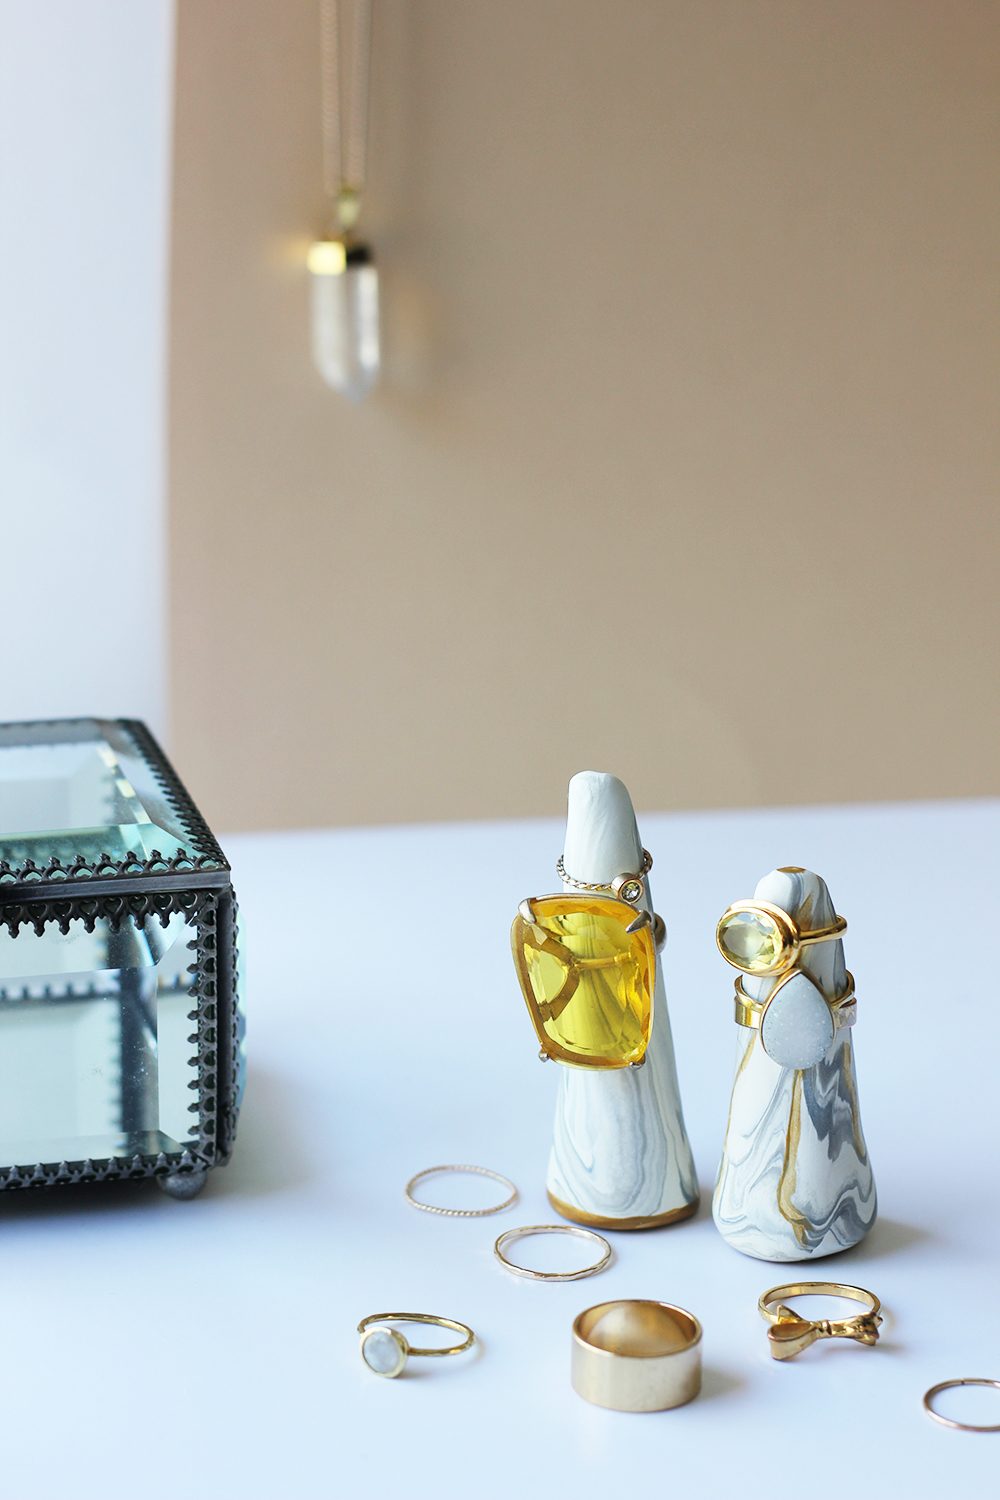
Marbled ring cones are a stylish way to store and display your favourite rings. Plus, they’re fun and easy to make at home! Here’s how you can create your own marbled ring cones in just a few steps.
Materials You’ll Need:
- Air-dry clay (white or coloured)
- Acrylic paint (choose marbling colours)
- Craft knife
- Clear sealant
- Wax paper or non-stick surface
- Small paintbrush
- Sandpaper (optional, for smoothing)
Steps:
- Prepare the Clay Start by rolling out your clay into a smooth, even surface. You can use white clay for a neutral base or coloured clay for a bold look.
- Add Marbling Take small pieces of coloured clay or apply acrylic paint directly onto the clay surface. Twist and knead the clay to create marbled patterns. Be careful not to overmix, as this can blend the colours too much.
- Shape the Cone Roll the marbled clay into a cone shape. You can adjust the size depending on how many rings you plan to store.
- Refine the Edges Use a craft knife to trim the base of your cone, ensuring it sits flat on a surface. If needed, smooth any rough edges with sandpaper once the clay is dry.
- Dry and Seal Let the cones dry according to your clay’s instructions (usually 24–48 hours). Once dry, apply a clear sealant to give the cones a glossy finish and protect the marbling effect.
- Display Your Rings Now your marbled ring cones are ready to use! Place them on your vanity or dresser for a chic, functional display.
If you have any question, write on comment section!
This guide is great for anyone looking to add a handmade touch to their jewellery organisation. Let me know if you’d like any tweaks or additional details!


Leave a Reply